So you're thinking about swapping out your exhaust system and wondering how much of your weekend it's going to chew up. Well, it depends. The time it takes to install a full exhaust system can range from a few hours to an entire day, depending on your know-how and the specific system you're dealing with.
First things first, understand what you're working with. Every car is a bit different. If you're dealing with a straightforward bolt-on system, you're in luck; it could be a morning's work. But if you're getting into custom modifications or working with rusted old parts, set aside some extra time.
Here's the kicker: preparation is key. Have all your tools ready, and don't underestimate the value of a good set of instructions. Throughout this guide, we’ll also share tips to help you streamline the process and, more importantly, keep your sanity intact.
- Understanding Your Exhaust System
- Factors Affecting Installation Time
- Step-by-Step Guide for DIY Installation
- Tips for Speeding Up the Process
Understanding Your Exhaust System
The exhaust system is like your car’s respiratory system. If there’s a blockage, your car’s performance will surely suffer. So what’s the exhaust system all about?
Essentially, the exhaust system is responsible for taking all that nasty stuff created in your engine and moving it away from your car. It reduces harmful emissions, dampens engine noise, and helps optimize fuel efficiency. Let's break down the components to see what you’re working with.
The Key Components
- Exhaust Manifold: This is the starting point, where gases first exit the engine. Made from cast iron or stainless steel, it collects exhaust gasses from the cylinders.
- Catalytic Converter: Think of this part as the eco-warrior. It reduces toxic emissions by converting them into less harmful substances.
- Oxygen Sensors: These sensors keep tabs on oxygen levels in the exhaust and help the engine’s computer adjust the air-fuel mix.
- Muffler: If you enjoy a quiet ride, thank the muffler. It dampens the sound of the exhaust gases.
- Tailpipe: This is the final exit point for exhaust gases and it’s what often gets that fancy chrome tip treatment.
Fun Fact: Exhaust Systems Over Time
Back in the day, exhaust systems were purely functional, but with modern advancements, they play a key role in vehicle performance and efficiency. Did you know that earlier systems didn't even have catalytic converters? Those were only mandated from the 1970s as emission standards tightened.
Here's a short table for the differences in systems over the years:
| Decade | Key Development |
|---|---|
| 1970s | Introduction of catalytic converters |
| 1990s | Advanced muffler designs for sound damping |
| 2010s | Eco-friendly materials and designs |
Knowing these components and their roles gives you the edge when it comes time for installation. It’s a bit like playing car doctor – the more you know, the better you can diagnose and fix. Keep these details in mind before diving into the process, and you’ll save yourself a lot of hassle.
Factors Affecting Installation Time
When you're gearing up to install a exhaust system, several factors can mess with how long you'll be under the car. Here, we'll break down the main culprits that can make the process a breeze or a marathon.
Vehicle Type
Let's face it, not all cars are created equal. Some vehicles have more accessible setups, making your life easier. For compact cars with simple layouts, installing an exhaust might be quicker than a larger truck with a more complex underbody.
Experience Level
If this isn't your first rodeo, you'll naturally be faster. Folks who are new to car mechanics might take longer figuring out tools and techniques, and that's totally alright. Everyone starts somewhere!
Condition of Existing Parts
How rusty are we talking? Older vehicles might have exhaust parts that are stubborn as a toddler at bedtime. You're looking at extra time if you need to break out rust removers or additional tools.
Type of Exhaust System
Are you dealing with a direct-fit, bolt-on exhaust system, or does your project involve some custom fitting and welding? Simpler systems that are made as direct replacements will cut down on time significantly.
Tools and Workspace
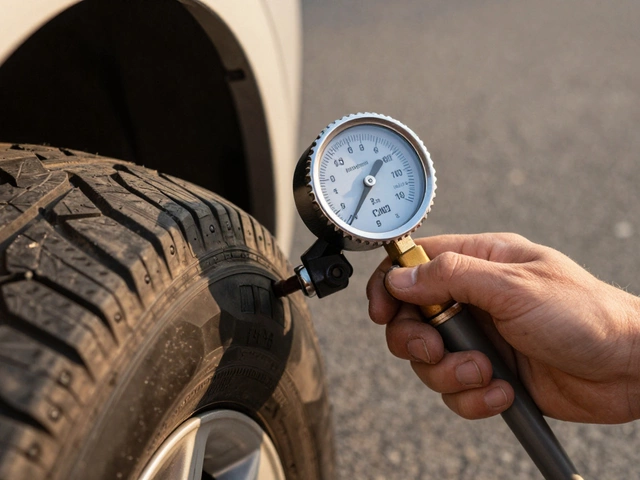
An overlooked factor is how well-prepped your workshop is. Having all necessary tools at hand and ample space can save a surprising amount of time. A solid jack, creeper, and a good set of sockets can work wonders.
Now, here’s a quick suggestion. If you expect challenges with your setup or have a particularly complex vehicle, don’t shy away from phoning a friend – preferably one who's been down this road before.

Step-by-Step Guide for DIY Installation
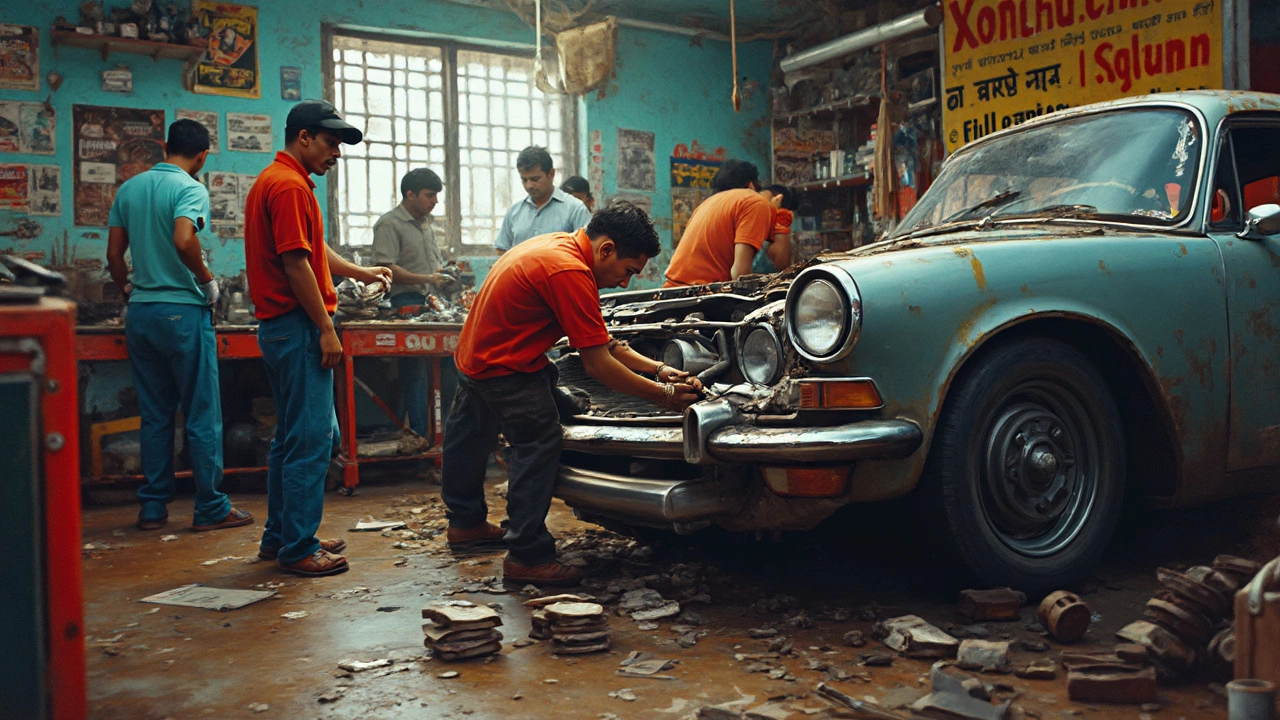
Ready to roll up your sleeves and tackle the exhaust system installation yourself? Awesome! With some patience and elbow grease, you'll have your ride purring like a kitten in no time.
Tools You'll Need
Before diving in, make sure you've got the following tools on hand:
- Jack and jack stands
- Wrench set
- Screwdrivers
- Lubricant spray (like WD-40)
- Safety goggles and gloves
Getting Started
- Safety First: Always start by ensuring your car is parked on a flat surface and securely supported by jack stands. Wear safety goggles and gloves to protect yourself from dust and grime.
- Remove the Old System: Use a wrench to loosen and remove the bolts that secure the current car exhaust system. A bit of WD-40 on stubborn bolts doesn’t hurt, especially if they're rusted or corroded. Keep in mind that the exhaust system can be a bit heavy, so lower it carefully with a helper if needed.
- Inspect and Compare: Before installing, compare the new system parts to the old ones to ensure they're compatible. Seems obvious, right? But you'd be surprised how often this step saves the day.
- Install the New System: Start from the front pipe and move towards the rear of the vehicle. Hand-tighten the bolts at first to allow slight adjustments as you fit the rest of the system.
- Tighten Everything Up: Once all parts are perfectly aligned, go back and tighten everything securely. Check for any movement or slack to avoid any rattling noises down the road.
- Final Checks: Lower your car and give the vehicle maintenance job a once-over. Look for leaks and ensure all brackets and hangers are correctly positioned. Then, start the engine to check for any weird sounds that might suggest a misaligned or loose component.
There you have it! A DIY installation might take some time—anywhere from 3 to 6 hours depending on your skill level and the specific vehicle maintenance involved—but it's super rewarding. You'll not only save money but also gain a new skill. Plus, let's be honest, who doesn't love a good DIY challenge?
Tips for Speeding Up the Process
Everyone wants to save time, especially when elbow-deep in car parts. Here’s how you can make your exhaust system installation a breeze rather than a drag.
Gather Your Tools
First off, make sure you've got all the tools you need before starting. Nothing slows you down faster than hunting for that one missing wrench. Essential tools include a socket set, lubricant spray, jack stands, and maybe even a torque wrench to make it all look easy.
Read The Instructions
Yeah, this one might sound boring, but trust me, reading the manual saves plenty of time. Manufacturers provide specific instructions on installing a car exhaust which can offer tips on shortcuts and prevent damage.
Prep Your Workspace
Before rolling your car onto the jack stands, clear your workspace of clutter. A well-organized area prevents accidents and helps you move more efficiently.
Use Penetrating Oil
If your vehicle isn’t brand-new, bolts might be stuck tight due to rust. Applying a penetrating oil to these bolts and letting them sit for a while can make them easier to loosen.
Check for Compatibility
Double-check that your new exhaust system matches your vehicle. Mismatched parts can slow you down as you try to make unexpected adjustments.
Consider a Helping Hand
Some things are easier with a buddy. A second pair of hands can hold parts in place, making the alignment process quicker. Plus, it’s always good to have someone around to make sure you don’t squish yourself under the car!
| Tool | Purpose |
|---|---|
| Socket Set | Loosen and tighten bolts |
| Lubricant Spray | Ease rusty bolts |
| Torque Wrench | Ensure proper tightness |
By being prepared, you not only reduce the chance of running into hitches but you'll also likely finish faster. So, plan ahead, and your installation time might just surprise you with how short it turns out to be!