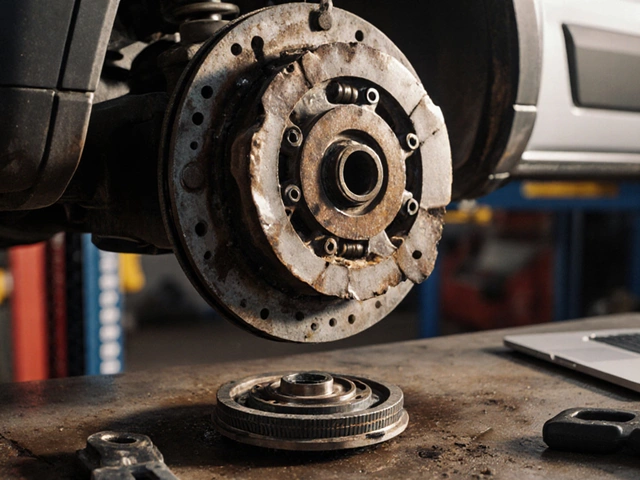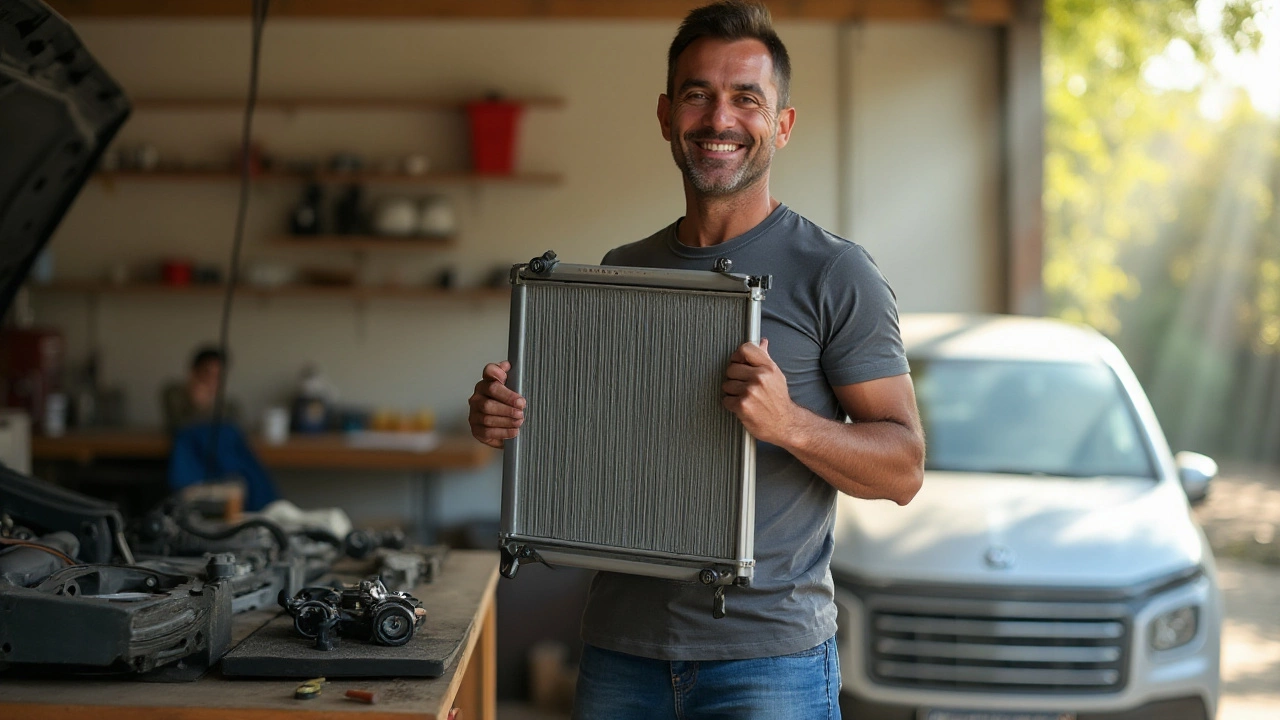
Changing a car radiator might seem daunting, but with some guidance, most vehicle owners can tackle this job on their own. A radiator plays a key role in keeping your engine cool, and understanding its function can make the replacement process smoother.
Before diving into how to replace your radiator, it's important to recognize when a replacement might be necessary. Issues like overheating, leaks, or unusual behavior in your vehicle's temperature gauge could indicate a problem with your radiator.
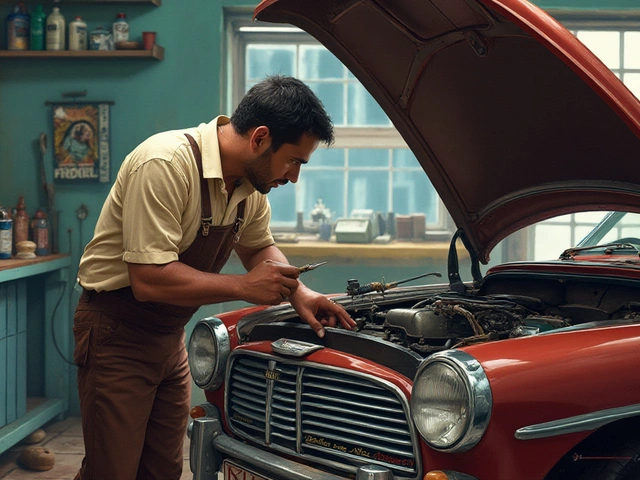
If you're considering this DIY project, having the right tools and preparation will be crucial. Whether you're a car enthusiast or just want to save a few quid, this guide will help navigate you through each step, making the seemingly complex task of radiator replacement manageable and straightforward.
- Understanding Car Radiators
- Signs You Need a New Radiator
- Tools and Preparation for Replacement
- Step-by-Step Radiator Replacement
Understanding Car Radiators
Car radiators are essential components of the vehicle’s cooling system, functioning like the lungs in the body, managing the transfer of heat and keeping your engine at the optimal temperature. Without a properly functioning radiator, your engine would quickly overheat, causing severe damage that can be costly to repair. The radiator operates by allowing coolant—also known as antifreeze—to circulate through the engine, absorbing heat, and subsequently dispatching this heat via the radiator’s metallic fins as air passes through them. This meticulously designed process ensures that the engine remains within a safe temperature range, even under intense driving conditions.
Interestingly, the radiator is usually located at the front of the vehicle, taking advantage of the incoming airflow as you drive. The fins and tubes of the radiator are made from lightweight aluminum or brass and copper, chosen for their excellent heat dissipation properties. Though the basic design of radiators has remained fairly consistent for decades, advancements in materials and design have improved their efficiency and durability, allowing modern vehicles to operate even more reliably than their predecessors.
What many may not consider is how much the material of the radiator contributes to its effective operation. For example, an aluminum radiator typically provides better thermal transfer compared to some older models made from brass or copper. Additionally, variations in the number of cores—a radiator’s horizontal rows through which coolant flows—can affect the heat exchange efficiency. More cores can improve cooling capacity, but might also impose a higher cost or additional weight, presenting a trade-off that manufacturers weigh carefully.
"The efficiency of a car's cooling system is paramount. More than just preventing engine heat, it ensures environmental compliance and overall vehicle performance," said John H. Russell, a renowned automotive engineer from the Society of Automotive Engineers (SAE).
It’s also fascinating to look back at the evolution of radiator technology, which ties into broader automotive advancements. Modern radiators often incorporate plastic tanks, which reduce weight and cost. However, these components need to be crafted with precision to ensure they don’t compromise the radiator’s longevity. As with other car components, routine maintenance is critical. Regularly inspecting your radiator for leaks, corrosion, or blockages can prevent potential breakdowns. Many experts suggest flushing the coolant system every two years to maintain optimal performance.
Understanding the anatomy and functionality of your car's radiator empowers you to better care for your vehicle, ensuring it runs smoothly and efficiently. Knowing when it’s time to replace the radiator also depends on paying attention to early warning signs like strange noises or visible coolant leaks under your vehicle. In the next section, we will dive deeper into recognizing these tell-tale signs and what you can do about them.

Signs You Need a New Radiator
Your car radiator is a crucial component of your vehicle's cooling system, ensuring that your engine remains at an optimal temperature. But how do you know when it's time to replace it? Let's dive into some tell-tale signs that your car's radiator might be on its last legs and might need a replacement—after all, knowing when to address these issues can save you from costly repairs down the line.
One of the first signs to watch for is frequent overheating. If your dashboard's temperature gauge climbs higher than usual, it's your vehicle's way of saying something is amiss. Continuous engine heat can lead to serious damage, and while there might be varied reasons for overheating, a malfunctioning radiator is often the culprit. Keep an eye out for leaks too. Pooled coolant under your vehicle or a rapidly depleting coolant level are red flags. A tiny leak might not seem urgent, but as many seasoned auto enthusiasts will tell you, neglecting it can lead to comprehensive engine issues.
Rust and discoloration on the radiator or around it are also signs that you shouldn't ignore. The presence of rust indicates internal corrosion, potentially due to air exposure. When air enters, rust can start forming quite fast, and if untreated, the corrosion might compromise the radiator's integrity. Look for any sludge build-up as well. This thick, gooey substance might result from oil mixing with the coolant, signaling that you might have a radiator failure on the horizon. Also, pay attention to any strange odors coming from the radiator. A burnt or hot coolant smell can indicate radiator issues, as it might mean the radiator isn't effectively dispensing heat.
Here's a quote to offer some insight into the significance of acting early:
"Recognizing the early signs of radiator issues can make the difference between a straightforward maintenance job and catastrophic engine failure," says automotive expert James Marhs, from AutoTech Review.Another symptom we often overlook is heater functionality. If you find the heater isn't warming up the cabin as it should, it might be due to insufficient coolant circulation, once again pointing back to a potential radiator problem. Of course, no DIY car enthusiast should miss unusual sounds. Sometimes, a failing radiator might make gurgling or bubbling noises, as air pockets find their way into the cooling system.
Tools and Preparation for Replacement
Embarking on a DIY car radiator replacement requires a certain set of tools and adequate preparation. Before you roll up your sleeves, ensure you have all essentials at arm's reach. Not only does having the right equipment make the task straightforward, but it also saves time and avoids the frustration of scrambling through your toolbox mid-job. A standard car repair toolkit including a set of screwdrivers, pliers, and wrenches should cover most of your needs. Combine these with a coolant, a catch basin for the old coolant, and hand gloves to protect your hands while working with mechanical parts. A wire brush is also handy for cleaning surfaces during the procedure.
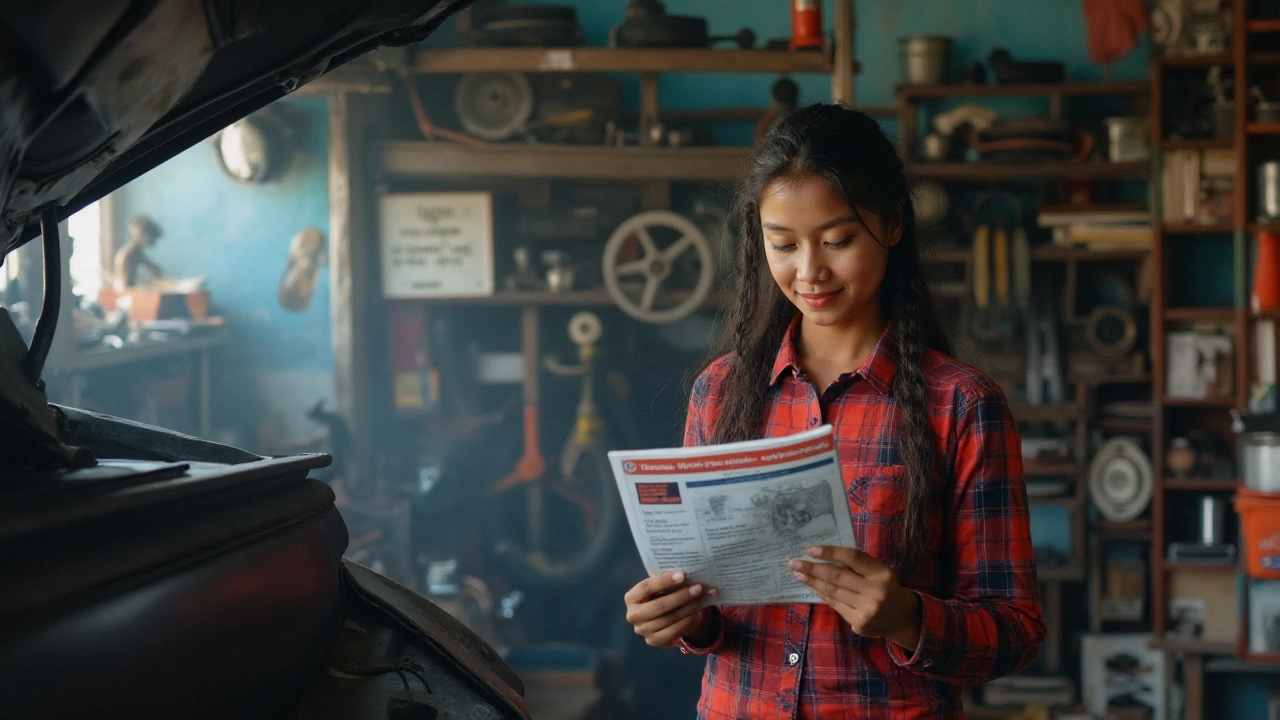
One often overlooked aspect of preparation is the manual for your specific car model. It's critical because different models can have varying radiator placements or unique constraints. Bearing this in mind, consulting trusted sources like the manufacturer's manual will provide insights specific to your vehicle. Kelsey Mays, an expert from Cars.com, notes in an automotive blog,
“Mechanics rely heavily on manuals—they're not just for amateurs. It’s about understanding your car’s unique ‘personality’.”In addition to manuals, understanding how to safely lift and secure your vehicle with jack stands will prevent any mishaps.
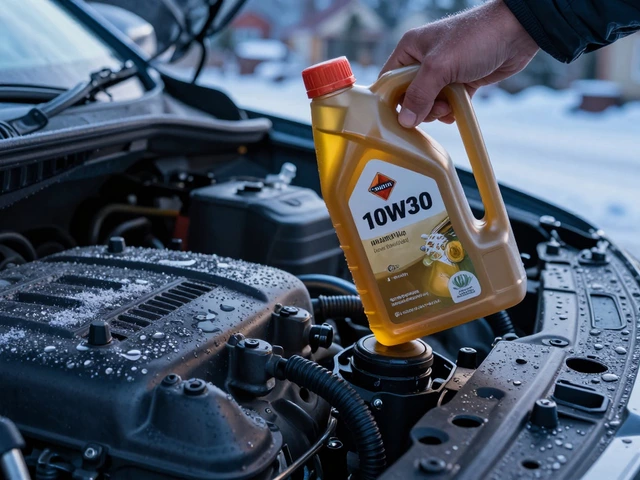
Nothing spells disaster more than inadvertently using the wrong type of radiator coolant or fluid during the replacement process. Importantly, make sure your coolant matches your vehicle's requirements exactly, as mixing different types can lead to significant engine problems. Once you know the components you’ll be working with, it's helpful to study the layout of your engine bay beforehand. Drawing an easy-to-read diagram can be beneficial, ensuring you know where everything connects and in what order. Fully charged portable lighting is invaluable in the dimly lit crevices of your engine bay, allowing you to see clearly and comprehensively during the process.
When you combine all these tools, information, and preparation strategies, the mystery of replacing your car’s radiator melts away. Awareness and readiness trim away any complexity from the job, ensuring a smooth and efficient experience. Remember, the heart of successful mechanical endeavor lies in preparation, so take the time to familiarize yourself with your toolkit and technique before jumping in.

Step-by-Step Radiator Replacement
Tackling the task of replacing your car radiator requires careful preparation and knowledge of the process to ensure everything is done correctly. The first step is ensuring that your work area is safe and ready. A well-ventilated garage or driveway is ideal, providing enough space to navigate around the vehicle. Moreover, having a basic toolkit at hand is crucial. Essential items include a socket set, screwdrivers, and a wrench. You’ll also need a container to catch any old coolant that drains from the system. Before you begin, double-check that your replacement radiator matches your car’s make and model.
Start by making sure the engine is cool to the touch. This is crucial, as a hot engine can cause serious burns. Once safe, you’ll need to drain the old coolant from the radiator. Loosen the drain plug at the bottom of the radiator, and let the fluid empty into your container. This could take a few minutes. Dispose of the old coolant according to local regulations, as it is toxic and harmful to the environment. After draining, disconnect the radiator hoses. A pair of pliers will help with removing the clamps, and gently twisting the hose should free it from the radiator. Remember that patience is key, as rushing through these steps might lead to injury or damage to the hoses.
With the radiator hoses detached, the next step is to remove any other components that might be obstructing access to the radiator. This can include items like the fan shroud and any brackets securing the radiator in place. This part requires careful attention, as these components are critical to the system's function. Keep track of where each piece goes, as reinstallation will require putting everything back as you found it. Once the blocked components have been moved, lift the old radiator out. It can be surprisingly heavy, so proceed with caution to avoid straining yourself or scratching your car.
Installing the new radiator is essentially reversing the removal steps. Position the radiator carefully in its slot, and secure it with its brackets. Make sure it's seated properly before reconnecting the radiator hoses. Ensure the clamps are fastened securely to keep the coolant sealed within the system. At this point, reinstall the fan shroud and any components you had to remove earlier. Double-check that everything is secure, as loose parts can cause damage or pose safety risks while driving. A renowned car expert once said,
“Meticulous attention to each connection can be the difference between smooth sailing and overheating engines.”
The last step in this process is to refill the system with fresh coolant. Use the type recommended by your vehicle's manual for the best performance. Pour the new coolant into the radiator, allowing it to flow through the hoses until the system is full. Replace the radiator cap securely, and then start the engine. Let it idle for a few minutes, observing for any leaks or unusual noises. This initial run is crucial as it circulates the coolant and reveals any immediate issues. If the system seems fine, you're ready for a test drive. Take a short trip around the block, keeping an eye on the temperature gauge to ensure optimal operating conditions.
For those curious about the financial savings, replacing a radiator yourself can save hundreds on labor costs alone. An average car radiator replacement can cost between £300 to £600 when carried out by professionals, whereas doing it yourself could see you spending as little as £100 to £200 for the radiator itself. Remember, the cost benefits come with the caveat of requiring a clear understanding and diligent approach to ensure the task is executed safely and correctly. The satisfaction of completing such a job yourself is immeasurable, knowing you’ve equipped your vehicle to run smoothly without overheating issues.