Fuel Pump Replacement Safety Calculator
Imagine you’re stuck on the side of the road because your car suddenly lost power. The diagnosis comes back quickly: a failed fuel pump, which is an electric motor that pushes gasoline from the tank to the engine. Now you have a choice. Do you pay a mechanic £300-£500 for a two-hour job, or do you tackle it yourself? If you choose the latter, the first question that pops into your head is usually about safety. Specifically, you want to know if you need to drain the entire tank before starting work.
The short answer is no, you do not need a completely empty tank. In fact, trying to run your car until the light flashes red might actually make the job harder and risk damaging the pump further. However, leaving the tank full is dangerous and messy. The sweet spot lies somewhere in the middle, and understanding exactly how much fuel to remove-and why-is critical for your safety and the success of the repair.
The Myth of the "Empty" Tank
Many beginners assume that "empty" means zero gallons left. This is a misconception rooted in older vehicle designs where fuel lines were routed under the car, making them accessible without dropping the tank. Modern vehicles, especially those manufactured after the mid-1990s, use in-tank fuel pumps. These units are submerged directly in the gasoline to keep the motor cool and prevent vapor lock.
To access these modern pumps, you often have to drop the entire fuel tank or remove a large access panel underneath the rear seat. If you drive your car until it literally runs out of gas, you aren’t just creating a mess; you’re risking severe damage to the pump itself. Fuel pumps rely on the surrounding liquid for cooling. Running dry causes the motor to overheat, potentially melting internal components or seizing the impeller. So, while you don’t need an empty tank, you certainly don’t want a hot, dry one either.
Why Low Fuel Is Better Than Full
While you shouldn’t drain the tank completely, you should aim for the lowest possible level safely achievable. Here is why working with a near-empty tank is standard practice:
- Weight Reduction: Gasoline weighs approximately 6 pounds per gallon (about 2.7 kg per liter). A full 15-gallon tank adds nearly 100 pounds (45 kg) to the assembly you might need to lower. Reducing this weight makes handling the tank significantly easier and safer for your back.
- Spill Minimization: When you disconnect the fuel lines, residual pressure will release some fuel. Starting with less volume means less potential for spills on the ground or your clothing.
- Fire Risk Management: Although gasoline vapors are more explosive than liquid fuel, having less liquid present reduces the overall hazard level in the workspace.
However, there is a practical limit. If you drive too far on fumes, you may pull debris from the bottom of the tank into the pump filter. This sediment can clog the new pump immediately upon installation, leading to premature failure. Therefore, the goal is to reach the lowest safe operating level without starving the engine.
How Much Fuel Should Be Left?
There is no universal rule written in stone, but most professional mechanics recommend leaving between 1 and 2 gallons (roughly 4 to 8 liters) of fuel in the tank. This amount serves two purposes. First, it keeps the remaining fuel clean by avoiding the sludge layer at the very bottom of the tank. Second, it provides enough liquid to cover the pump module during the initial stages of removal, preventing static sparks from igniting vapors in a completely dry environment.
If your car has a reserve mode that activates when the gauge hits "E," drive only until that warning appears. Then, stop driving. For many modern cars, this leaves just enough fuel to keep the system primed but minimal enough to work safely. If you have a fuel app or a scanner tool that reads actual tank levels, use that data rather than relying solely on the dashboard gauge, which can be notoriously inaccurate.
Safety First: Essential Precautions Before You Start
Working with fuel systems carries inherent risks. Fire and explosion are real dangers if proper precautions are ignored. Before you even think about removing bolts, you must prepare your workspace and vehicle correctly.
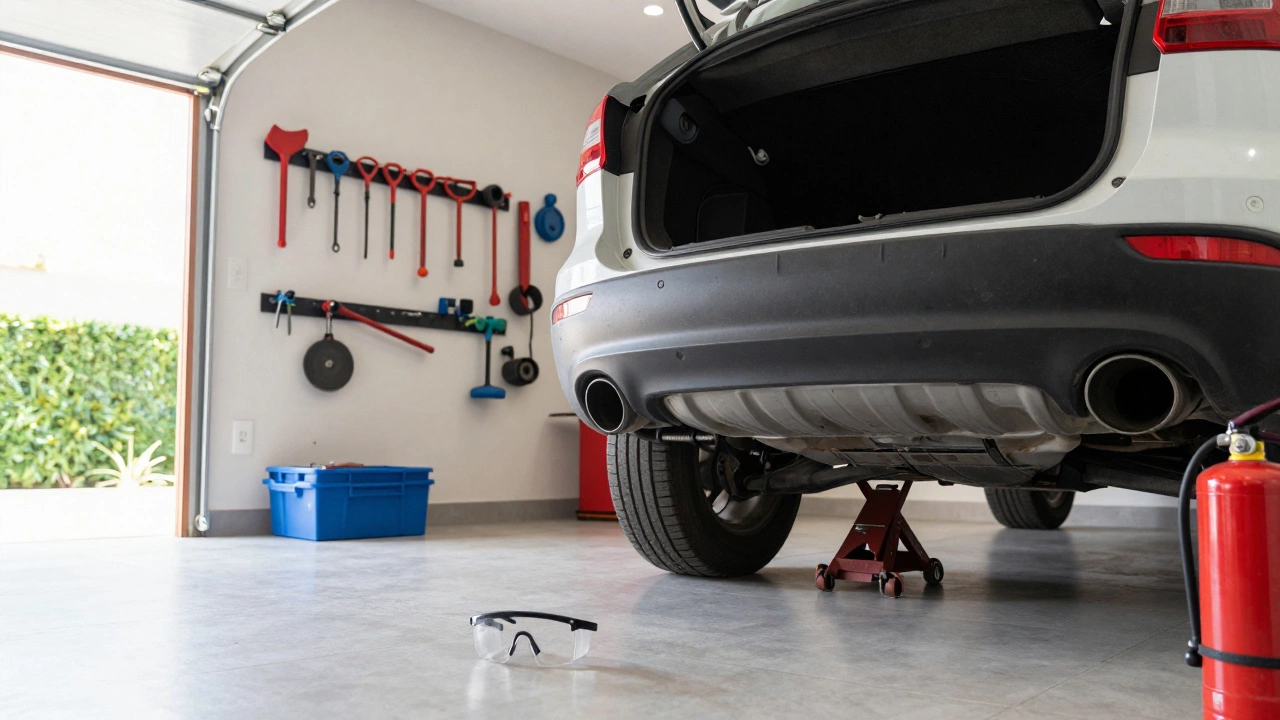
First, ensure you are working in a well-ventilated area. An open garage door or, ideally, outdoors is best. Gasoline vapors are heavier than air and can accumulate in low spots, creating an invisible fire hazard. Keep all ignition sources away-no smoking, no running power tools nearby, and definitely no open flames.
Second, relieve the fuel system pressure. Modern fuel injection systems operate under high pressure, often between 30 and 60 PSI. If you disconnect a line while pressurized, fuel will spray everywhere. To depressurize the system, locate the fuel pump fuse or relay in your car’s fuse box. Remove it, start the car, and let it run until it stalls. Crank the engine a few more times to clear any remaining pressure. Replace the fuse only after you have completed the repair.
Third, wear appropriate personal protective equipment (PPE). Chemical-resistant gloves protect your skin from harsh hydrocarbons, and safety goggles shield your eyes from accidental splashes. Consider wearing old clothes that you don’t mind ruining, as gasoline stains are nearly impossible to remove completely.
Step-by-Step: Removing the Fuel Pump Module
Once the tank is low and the system is depressurized, you can begin the physical removal process. The exact steps vary by vehicle model, but the general procedure remains consistent across most makes and models.
- Disconnect the Battery: Always start by disconnecting the negative terminal of the battery. This prevents any accidental electrical shorts that could spark while you are working near fuel vapors.
- Access the Pump: Determine whether your vehicle requires dropping the tank or accessing the pump through a rear seat panel. Consult your service manual for specific instructions. Dropping the tank involves supporting it with a jack stand, disconnecting the filler neck, vent hose, and fuel lines.
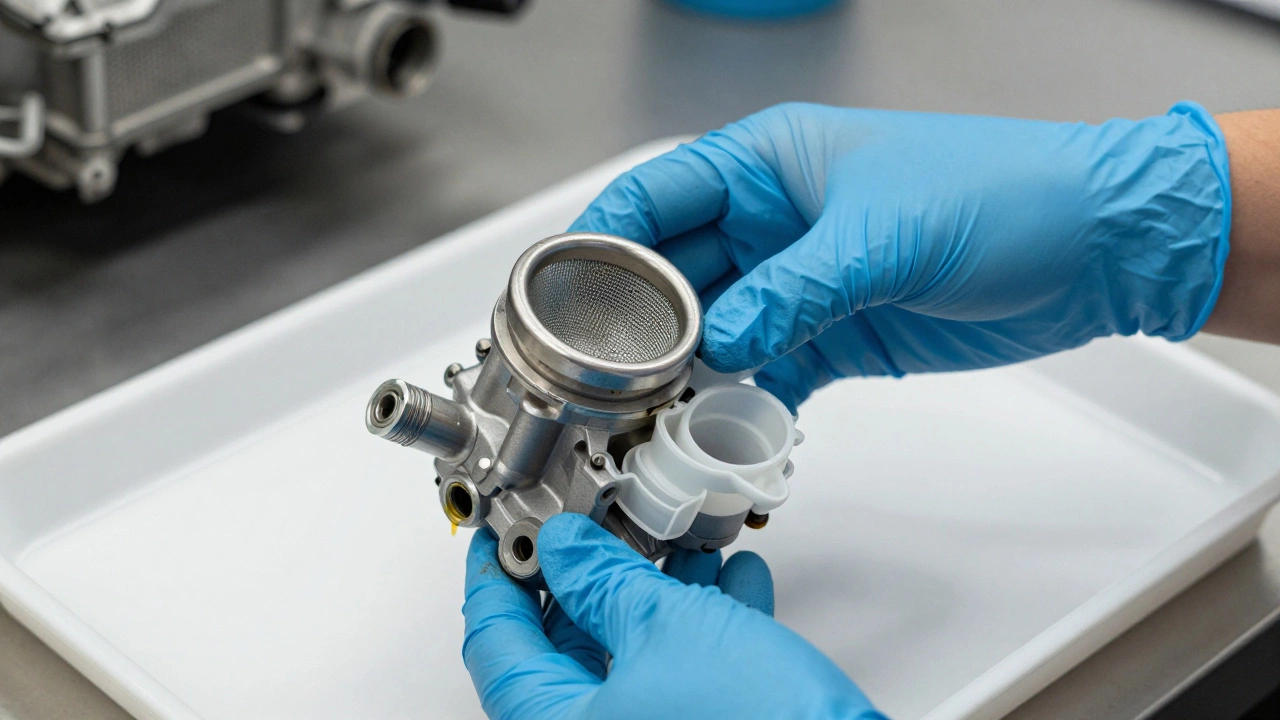
- Remove the Locking Ring: Most fuel pump modules are secured by a large plastic locking ring. Use a specialized fuel pump wrench or a large flathead screwdriver to loosen this ring. It may be tight due to age and corrosion, so apply steady pressure rather than brute force.
- Lift Out the Module: Carefully lift the pump assembly straight up. Avoid tilting it excessively, as this can spill the remaining fuel inside the module housing. Note the position of the wiring harness and strainer before fully removing it.
Pay close attention to the O-rings and seals around the pump opening. These rubber components degrade over time and should always be replaced with new ones from your kit. Inspect the inside of the tank for rust or debris. If you find significant contamination, consider cleaning the tank professionally before installing the new pump.
Installing the New Fuel Pump
Installation is essentially the reverse of removal, but precision matters here. Ensure the new pump sits flush against the mounting surface. Misalignment can cause leaks or improper sealing. Install new O-rings and lubricate them lightly with clean engine oil or silicone grease to help them slide into place and maintain a watertight seal.
Tighten the locking ring securely but avoid overtightening, which can crack the plastic housing. Reconnect the fuel lines and electrical connectors firmly. Double-check all connections for tightness. Once everything is reassembled, reconnect the battery and install the fuel pump fuse.
Before starting the engine, turn the key to the "on" position without cranking. Listen for the humming sound of the pump priming the system. Wait a few seconds, then repeat this process two or three times to build pressure in the lines. Finally, start the engine. Check for any leaks around the connections and under the vehicle. If you see dripping fuel, shut off the engine immediately and inspect the fittings.
| Fuel Level | Safety Risk | Work Difficulty | Pump Health |
|---|---|---|---|
| Full Tank | High (Heavy, Spills) | Very Hard | Good |
| Near Empty (1-2 gal) | Low (Managed) | Moderate | Good |
| Completely Dry | Medium (Vapors) | Easy | Poor (Overheating) |
Common Mistakes to Avoid
Even experienced DIYers can trip up during fuel pump replacements. One common error is ignoring the fuel filter. Many modern cars have integrated filters within the pump module. If you replace the pump but leave a clogged filter, the new pump will struggle and fail prematurely. Always check if your vehicle has a separate inline filter that needs changing simultaneously.
Another mistake is using the wrong type of fuel pump. Aftermarket pumps vary widely in quality and flow rate. Ensure the replacement matches the original equipment manufacturer (OEM) specifications for voltage, flow rate (liters per minute), and pressure. Using a cheaper, incompatible pump can lead to poor performance or engine stalling.
Finally, never skip the leak test. Even a small drip can create a fire hazard over time. Run the engine at idle and then at higher RPMs while watching the connections closely. If you smell raw gasoline, shut down immediately. Addressing leaks early saves money and prevents catastrophic failures later.
Can I change the fuel pump with a full tank?
Technically yes, but it is highly discouraged. A full tank adds significant weight, making it difficult to handle the tank assembly. It also increases the risk of major spills when disconnecting fuel lines. Aim for 1-2 gallons remaining instead.
Is it dangerous to work on a fuel pump?
Yes, if proper precautions are not taken. Gasoline vapors are flammable. Always work in a ventilated area, disconnect the battery, relieve fuel pressure, and keep ignition sources away. Wear gloves and eye protection.
How do I relieve fuel pressure before removing the pump?
Locate the fuel pump fuse or relay in the fuse box. Remove it, start the car, and let it run until it stalls due to lack of fuel. Crank the engine a few more times to clear residual pressure. Replace the fuse only after the repair is complete.
Should I replace the fuel filter when changing the pump?
If your vehicle has an integrated filter in the pump module, yes, it is included in the new unit. If there is a separate inline filter, it is recommended to replace it simultaneously to ensure optimal flow and protect the new pump from contaminants.
What if my car won't start after replacing the fuel pump?
Check the electrical connections and fuses. Ensure the pump is receiving power. You may need to prime the system by turning the key to "on" several times without starting the engine. If the issue persists, verify that the pump is compatible with your vehicle's specifications.