Brake Pad DIY Cost Calculator
Calculate your potential savings by comparing the cost of professional brake service versus doing it yourself.
You hear that high-pitched squeal every time you slow down for a red light. Your instinct is to book an appointment at the local garage. But before you hand over your keys, you wonder: could I just do this myself and save some money? The short answer is yes, it is almost always cheaper to replace brake pads yourself, but only if you have the right tools and aren’t afraid of getting your hands dirty.
The difference in price isn't just a little bit; it’s often double or triple. However, "cheaper" doesn't always mean "better value" if you end up damaging your calipers or buying the wrong parts because you didn't know how to check compatibility. Let’s break down exactly where the money goes, what you need to spend upfront, and when it might actually be smarter to pay a professional.
The True Cost of Professional Brake Service
To understand the savings, we first need to look at what you’re paying for when you visit a mechanic. In the UK, as of 2026, the average cost for a full front brake job (parts and labor) at an independent garage ranges from £150 to £250 per axle. Main dealerships can charge upwards of £300 to £400 for the same service.
Why is it so expensive? You are paying for three things:
- Labor Rates: Mechanics charge hourly. Even though changing pads takes about 45 minutes to an hour per axle, they often bill in half-day increments or have a minimum call-out fee. Labor rates in cities like Bristol or London have risen significantly, averaging between £80 and £120 per hour.
- Parts Markup: Garages buy brake pads wholesale, but they mark them up by 30% to 50% when selling to you. This ensures their profit margin covers overheads like rent and insurance.
- Diagnostics & Safety Checks: A good mechanic will inspect your brake discs, calipers, and fluid while the wheels are off. If they find worn discs, they’ll recommend replacing them too. This adds value, but it also adds cost.
If you go to a fast-fit chain, you might get a slightly lower price, but the quality of inspection can vary wildly. You are essentially paying for convenience and peace of mind.
What Does DIY Actually Cost?
When you take the DIY route, your costs drop dramatically, but you have to consider two types of expenses: the recurring cost of parts and the one-time investment in tools.
Recurring Costs (The Parts)
A set of high-quality OEM (Original Equipment Manufacturer) brake pads for a standard family car-like a Ford Focus or Volkswagen Golf-costs between £20 and £40 online. Premium ceramic pads, which offer quieter operation and less dust, might run you £50 to £70. That is a fraction of what a garage charges for parts alone.
One-Time Tool Investment
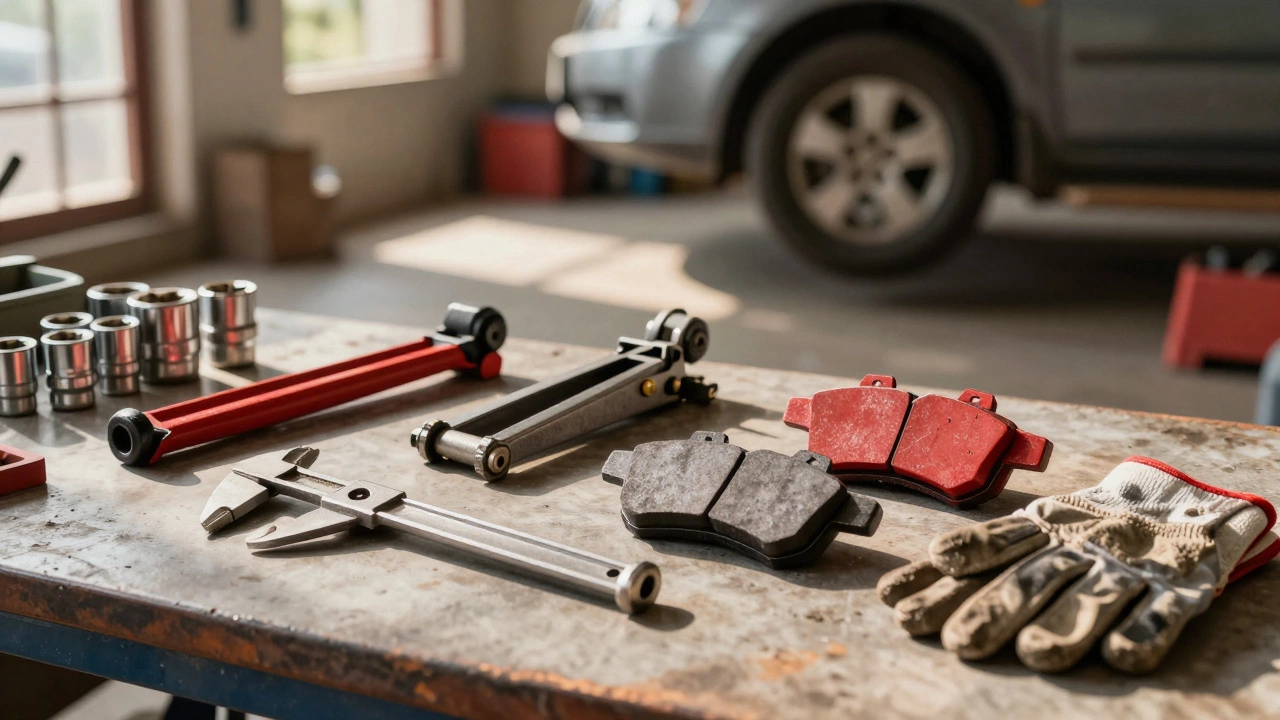
If you don’t own any car tools, you need to buy or borrow a few essentials. Here is the bare minimum list:
- Jack and Jack Stands: Never rely solely on a hydraulic jack. Stands keep the car safely elevated. (£30-£50)
- Wheel Brace or Impact Wrench: To remove the alloy wheels. Many cars come with a basic brace, but it’s often hard to use. (£10-£100 depending on quality)
- Socket Set and Ratchet: Usually 13mm, 14mm, or 17mm sockets are needed for caliper bolts. (£20-£40)
- Caliper Wind-Back Tool: This is crucial. You cannot push the piston back with a screwdriver without risking damage, especially on modern cars with parking brakes integrated into the caliper. (£15-£30)
- Brake Cleaner and Grease: To clean the slides and lubricate the contact points. (£10-£15)
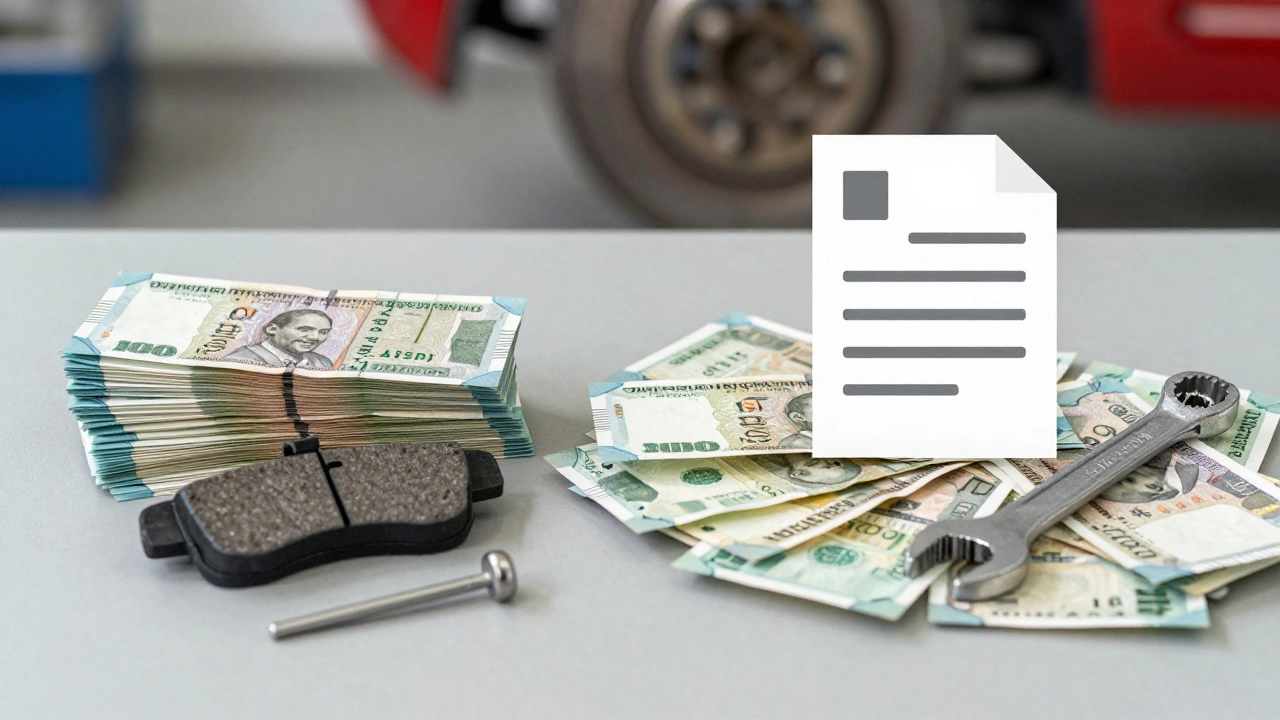
So, your first time out, you might spend around £100 on tools plus £40 on pads. Total: £140. On subsequent jobs, you only pay the £40 for pads. After just two brake jobs, you’ve broken even compared to a single garage visit. After ten jobs, you’ve saved thousands.
| Item | DIY (First Time) | DIY (Subsequent) | Independent Garage | Main Dealer |
|---|---|---|---|---|
| Parts Cost | £30 - £50 | £30 - £50 | £60 - £100 | £80 - £150 |
| Labor/Tools | £80 - £120 (one-off) | £0 | £90 - £150 | £150 - £250 |
| Total Cost | £110 - £170 | £30 - £50 | £150 - £250 | £230 - £400 |
Hidden Costs and Risks of DIY Brakes
It’s not all sunshine and savings. There are hidden costs that can turn a cheap job into an expensive mistake. Understanding these risks is vital for making the right decision.
Buying the Wrong Parts
Brake systems are specific. Using a generic search term might get you close, but using your Vehicle Identification Number (VIN) or checking a reputable auto parts site ensures fitment. If you buy pads that are too thick, they won’t fit in the caliper bracket. If they’re the wrong material, they might shatter under heat. Returning parts costs time and sometimes restocking fees.
Damaged Components
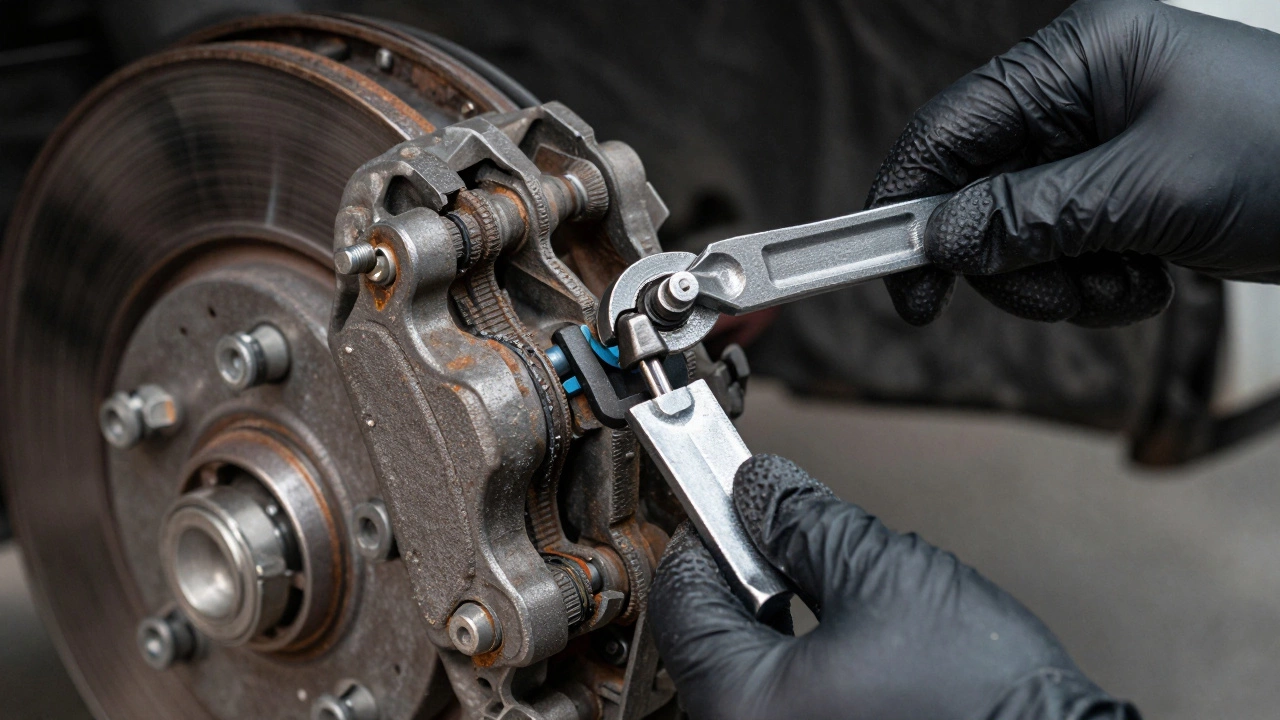
Brake caliper pins can seize due to rust and grime. If you force them, you might snap the pin or bend the slide. Replacing a seized caliper is a much bigger job than changing pads. Similarly, if you don’t properly retract the caliper piston, you can damage the seal inside, leading to a brake fluid leak. That turns a £40 job into a £200 repair.
Disc Wear Oversight
This is the biggest trap. New pads on old, warped, or thin discs feel terrible. They vibrate, squeal, and wear out quickly. A mechanic will measure your disc thickness with a micrometer. As a DIYer, you need to learn how to check for "lips" on the edge of the disc and visual scoring. If your discs are near the minimum thickness limit (usually stamped on the disc itself), you must replace them. Doing so yourself saves more money, but it requires removing the rotor, which is heavier and dirtier work.
When Should You Definitely Pay a Pro?
While saving money is great, safety is non-negotiable. There are scenarios where the DIY route is risky or impractical:
- Complex Parking Brake Systems: Many modern cars, particularly German brands like BMW and Audi, integrate the electric parking brake motor into the rear caliper. You can’t just push the piston back; you need a diagnostic scanner to put the caliper in "service mode." Without this tool, you risk burning out the motor. This is a common point of failure for beginners.
- Lack of Space: Do you have a driveway or garage? Working on a street involves moving traffic, uneven ground, and potential legal issues. If you’re working on a slope or soft grass, jacking becomes dangerous.
- Rust and Seized Bolts: If your car has been sitting in damp conditions (common in the UK), wheel nuts and caliper bolts may be rusted solid. Breaking them loose requires significant force and experience. Stripped bolts are a nightmare to fix.
- Time Constraints: Your first brake job might take 3 to 4 hours. A pro does it in 45 minutes. Is your time worth £100? For many busy professionals, the answer is yes.
Step-by-Step: How to Ensure a Safe DIY Job
If you decide to proceed, follow these steps to ensure safety and quality. This process applies to most standard hydraulic brake systems.
- Gather Information: Look up your specific car model’s brake guide. Watch a YouTube video for your exact year and make. Note the socket sizes needed.
- Buy Quality Parts: Don’t buy the cheapest pads available. Brands like Bosch, Brembo, or Textar offer excellent reliability. Buy new hardware clips (shims and springs) as well; reusing old ones causes noise.
- Safety First: Park on level ground. Engage the handbrake (if working on front brakes). Chock the opposite wheels. Loosen wheel nuts slightly before lifting the car.
- Lift and Secure: Use the jack points specified in your owner’s manual. Place jack stands under reinforced chassis points. Never work under a car supported only by a jack.
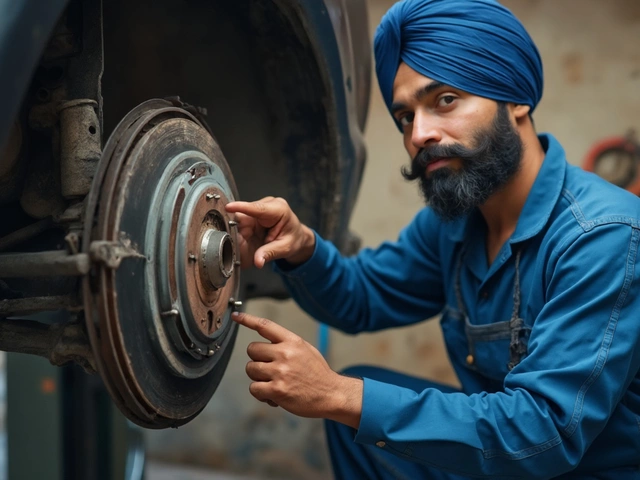
- Remove Caliper: Remove the wheel. Unbolt the caliper. Hang it from the suspension spring with a piece of wire or tape. Never let it hang by the brake hose; this can kink or burst the line.
- Swap Pads: Remove old pads. Clean the caliper bracket with wire brush and brake cleaner. Install new hardware clips. Insert new pads.
- Retract Piston: Use your wind-back tool to compress the caliper piston evenly. Check your brake fluid reservoir-it will rise as the piston goes in. Top it off if necessary, but don’t overflow it.
- Reassemble: Bolt the caliper back on. Torque bolts to the manufacturer’s specification (usually found in a repair manual). Reinstall the wheel.
- Bed-In the Brakes: Before driving normally, pump the brake pedal until it feels firm. Drive to a quiet road and perform several moderate stops from 40 mph to 10 mph to transfer material from the pad to the disc. Avoid hard stops for the first 200 miles.
Verdict: Is It Worth It?
For most people with a standard car, basic mechanical aptitude, and access to a driveway, replacing brake pads yourself is significantly cheaper. You save 50% to 70% on each job after the initial tool purchase. More importantly, you gain knowledge about your vehicle’s health. You’ll notice unusual noises or vibrations earlier because you were there when everything was new.
However, if you drive a luxury vehicle with complex electronic braking systems, lack space to work safely, or simply value your weekend time highly, paying a trusted independent mechanic is the better choice. The key is to avoid main dealerships unless under warranty, as their labor rates are disproportionately high for routine maintenance.
Ultimately, the decision comes down to confidence. If you’re unsure, start with the front brakes on an older, simpler car. The savings are real, but the responsibility is yours.
How long do new brake pads last?
On average, brake pads last between 20,000 and 50,000 miles. City drivers who stop frequently will wear them out faster than highway drivers. Ceramic pads tend to last longer than semi-metallic ones but cost more upfront.
Can I replace brake pads without replacing the discs?
Yes, if the discs are still within their minimum thickness limit and show no signs of warping, cracking, or deep scoring. However, it is best practice to replace both together to ensure optimal braking performance and prevent premature wear of the new pads.
Do I need special tools to replace brake pads?
You need basic hand tools: a jack, jack stands, wheel brace, socket set, and a caliper wind-back tool. While you can improvise with pliers, a dedicated wind-back tool prevents damage to the caliper piston, especially on cars with integrated parking brakes.
Is it safe to change my own brake pads?
Yes, provided you follow safety protocols: use jack stands, work on level ground, and torque bolts correctly. Brakes are critical safety components, so precision matters. If you are unsure about any step, consult a professional.
Why do my brakes squeak after replacement?
Squeaking can occur if the pads weren't bedded in correctly, if debris got on the disc, or if the hardware clips weren't lubricated. Applying a small amount of copper grease to the back of the pads (not the friction surface) and ensuring proper bedding-in usually resolves this.