Clutch Free Play Checker
Clutch Pedal Free Play Measurement
Measure your clutch pedal free play to determine if adjustment is needed. Most vehicles require 1-2 cm of free play.
Quick Takeaways
- Check pedal free play - 1 to 2 cm is normal for most cars.
- Listen for rattles or grinding when shifting.
- Feel for slipping during hard acceleration.
- Inspect clutch disc wear - less than 1 mm thickness means replacement.
- If any signs appear, adjust or repair before damage spreads.
When you press the clutch is a mechanical device that connects and disconnects the engine power to the transmission, allowing you to change gears smoothly. If that connection feels off, you might wonder whether the clutch adjustment the process of setting the correct pedal free play and engagement point is required. In everyday driving, a mis‑adjusted clutch shows up as strange noises, difficulty shifting, or a spongy pedal. This guide walks you through the tell‑tale signs, simple checks you can perform at home, and when to call a professional.
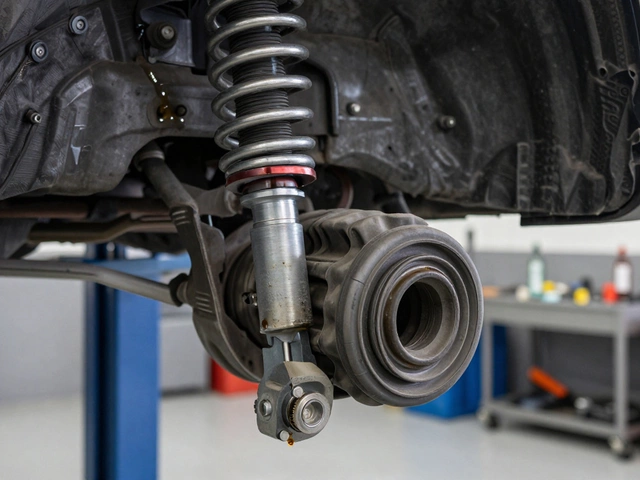
How a Clutch Works - The Basics
The clutch sits between the engine and the transmission the gearbox that changes engine speed to wheel speed. Press the pedal, and a hydraulic or cable system moves the clutch disc a friction plate that mates with the pressure plate. The pressure plate the component that squeezes the clutch disc against the flywheel clamps the disc to the flywheel a heavy metal disk attached to the engine crankshaft. When the pedal is released, the spring‑loaded pressure plate re‑engages, sending power to the wheels.
Common Symptoms That Hint at Adjustment Issues
Not every odd feeling means a broken part. Below are the most frequent clues that the clutch’s free play or engagement point is off.
- High or low pedal free play - If you have to press the pedal more than 2 cm before you feel resistance, the clutch may be too loose. Less than 1 cm can cause the disc to stay partially engaged.
- Rattling or squealing at the start - A loose clutch lets the disc “tap” against the pressure plate every time you release the pedal.
- Gear‑grind when shifting - Improper engagement means the synchronisers in the gearbox fight against the clutch, leading to a grinding noise.
- Slipping under load - If the engine revs rise but the car doesn’t accelerate proportionally, the clutch isn’t transferring torque fully.
- Spongy or soft pedal feel - Air in the hydraulic line or worn hydraulic master cylinder the component that builds pressure in the clutch system can mimic adjustment problems.
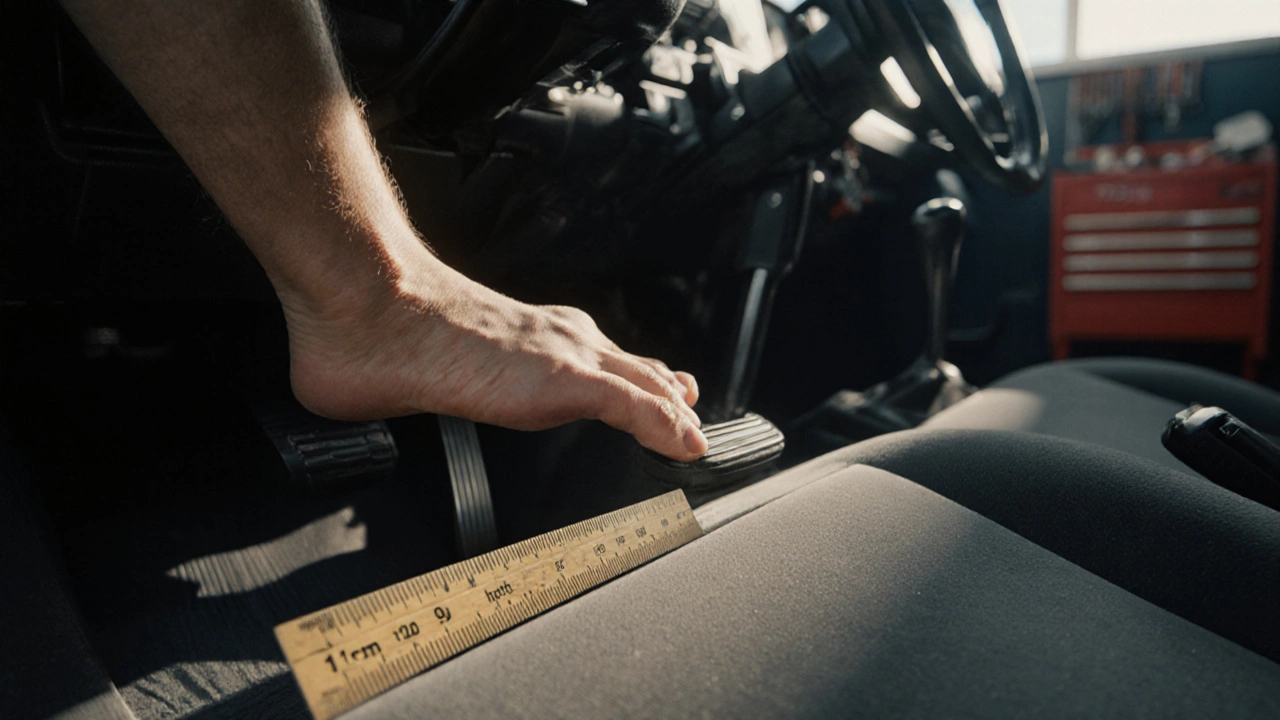
Measuring Clutch Pedal Free Play
Free play is the distance the pedal moves before the clutch actually starts to disengage. Here’s a quick way to measure it without any special tools.
- Park the car on a level surface, engage the parking brake, and start the engine.
- Depress the clutch pedal fully and hold it.
- Release the pedal slowly until you feel the first hint of resistance - that’s the engagement point.
- Use a ruler or a tape measure to note the distance from the pedal floor to that point.
Most manufacturers recommend 1-2 cm of free play, but check your owner’s manual for exact numbers. If you’re outside that range, the clutch needs adjustment.
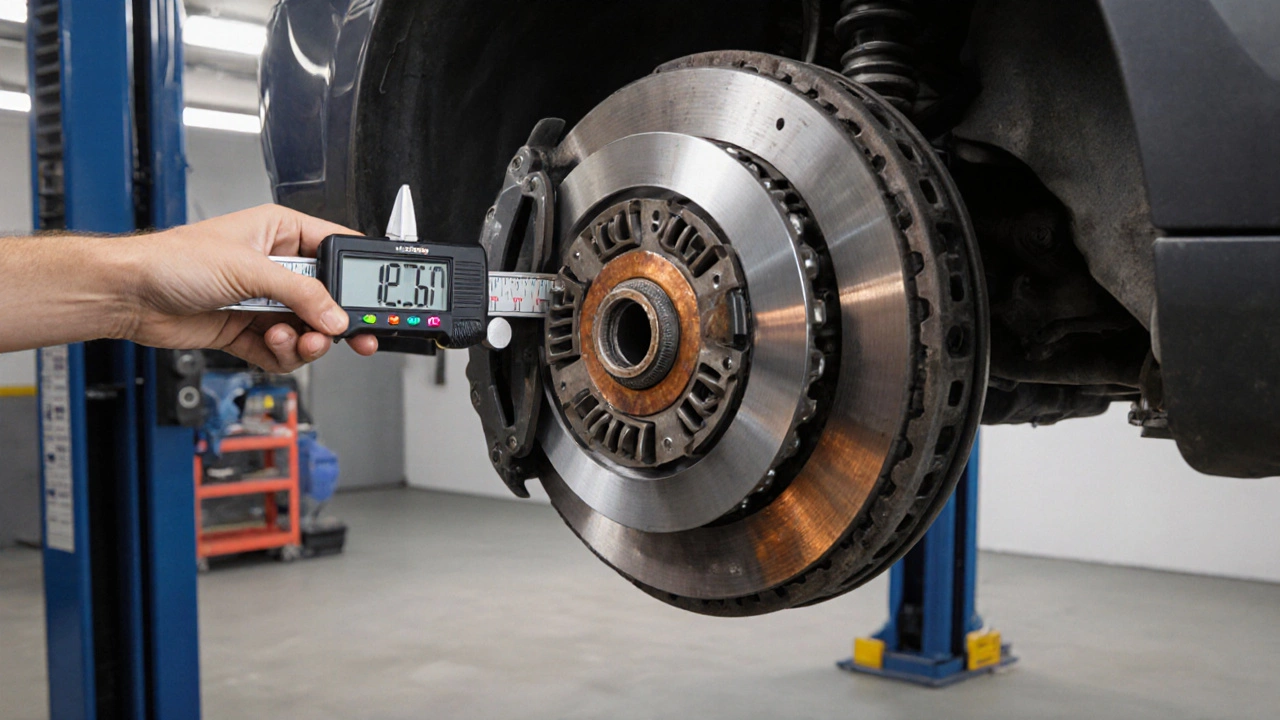
Inspecting Wear on Clutch Components
Even a perfectly adjusted clutch can wear out over time. While you’re in the garage, look at these parts.
- Clutch disc thickness - Measure with a caliper. New discs are typically 1.5-2 mm thick. Below 0.5 mm means replace.
- Pressure plate fingers - Bent or broken fingers cause uneven pressure.
- Flywheel surface - Scored or hot‑spot areas reduce friction and lead to slipping.
- Clutch fluid level - Low or dirty fluid can introduce air bubbles, making the pedal feel spongy. Top up with the specified DOT 3 or DOT 4 fluid.
If any of these components show significant wear, an adjustment alone won’t fix the problem; you’ll need a new clutch kit.
DIY Clutch Adjustment Guide (For the Confident DIYer)
Only attempt this if you’re comfortable working under the car and have basic hand tools. Modern cars often use a hydraulic system, so the adjustment is usually about bleeding the line, not turning a nut.
- Lift the vehicle safely on jack stands and remove the clutch master cylinder if you need to replace seals.
- Open the bleed valve and have a helper press the pedal to the floor.
- Close the valve while the pedal is held down, then release the pedal. Repeat until no air bubbles appear.
- Check the free play again. If still out of spec, adjust the clutch pedal linkage the rod or cable connecting the pedal to the hydraulic system by loosening the adjustment bolt, moving the pedal, then tightening.
- Test drive: shift through all gears, listen for noise, and verify that the pedal feels firm.
Remember, hydraulic systems are sealed; opening them can introduce contaminants. If you’re not sure, let a qualified mechanic handle it.
When to Call a Professional
Even seasoned DIYers hit a wall. Call a shop if you notice any of these red flags:
- Persistent slipping despite correct free play.
- Burnt smell from the clutch housing - indicates overheating.
- Sudden loss of pressure in the pedal after a short drive.
- Visible damage to the flywheel or pressure plate.
Professional shops have a clutch alignment tool that guarantees the disc sits perfectly centered on the flywheel, something hard to achieve with hand tools.
Maintenance Checklist to Keep Your Clutch Healthy
- Check clutch fluid every 12 months; replace if dirty.
- Inspect pedal free play during routine service.
- Avoid riding the clutch - keep the pedal up when stopped.
- Shift smoothly; harsh rev‑matching stresses the disc.
- Replace a worn clutch disc before it reaches the minimum thickness.
Sticking to this checklist reduces the chance of sudden failure and extends the life of your clutch kit.
Comparison Table: Adjusted vs. Worn Clutch Symptoms
| Symptom | Mis‑adjusted Clutch | Worn Clutch |
|---|---|---|
| Pedal feel | Too high or too low free play | Consistently soft or spongy due to worn disc |
| Noise | Rattling at release | Grinding when gears engage |
| Acceleration | Normal, but clutch may chatter | Engine revs rise, car stalls or lags |
| Inspection result | Free play out of spec, components intact | Disc thickness < 0.5 mm, burnt spots |
Frequently Asked Questions
How often should I check my clutch free play?
A good rule is to inspect it at every oil change or every 10,000 miles, whichever comes first. Early detection saves costly repairs.
Can a hydraulic clutch be adjusted without special tools?
Mostly you’ll need to bleed the system to remove air bubbles. Adjusting the pedal linkage may be possible with a simple wrench, but precise hydraulic calibration usually requires a bleed kit.
What does a burning smell mean?
A burnt odor indicates the clutch disc is overheating, often from riding the clutch or a severely mis‑adjusted system. Stop driving and have it inspected immediately.
Is it safe to drive with a spongy clutch pedal?
It’s risky. A spongy pedal usually means air in the hydraulic line or worn components, which can lead to sudden loss of power transmission. Get it checked before long trips.
How much does a clutch kit replacement cost in the UK?
In 2025, a standard clutch kit for a front‑wheel‑drive hatchback runs between £250 and £400, plus £100‑£150 for labour. Prices vary by make, model, and whether any additional parts (flywheel, hydraulic lines) need replacement.