Fuel Pump Replacement Estimator
Not sure if you should tackle this job yourself? Select your vehicle type and scenario to get an instant estimate of the work involved.
Cost Breakdown
- Part Cost (Mid-Tier Brand): $0
- Labor Cost (If Professional): $0
- Total Estimated Cost: $0
Key Considerations
You’re driving along, and suddenly the engine sputters, coughs, and dies. You try to restart it, but you hear nothing-or maybe a weak whine that fades away. The diagnostic tool points to one culprit: fuel pump. Now comes the big question every car owner asks when they see the quote or watch a YouTube tutorial: is replacing a fuel pump actually a big job?
The honest answer is: it depends entirely on where your pump lives and what kind of access your vehicle provides. For some cars, it’s a 30-minute task involving a single panel under the rear seat. For others, it’s a six-hour ordeal requiring the removal of the entire fuel tank, which sits underneath the chassis. Let’s break down exactly what makes this repair easy for some and a nightmare for others, so you can decide whether to grab your wrenches or hand over the keys.
Where Is Your Fuel Pump Hiding?
This is the single most important factor determining the difficulty level. Modern vehicles generally use one of two configurations, and knowing yours changes everything.
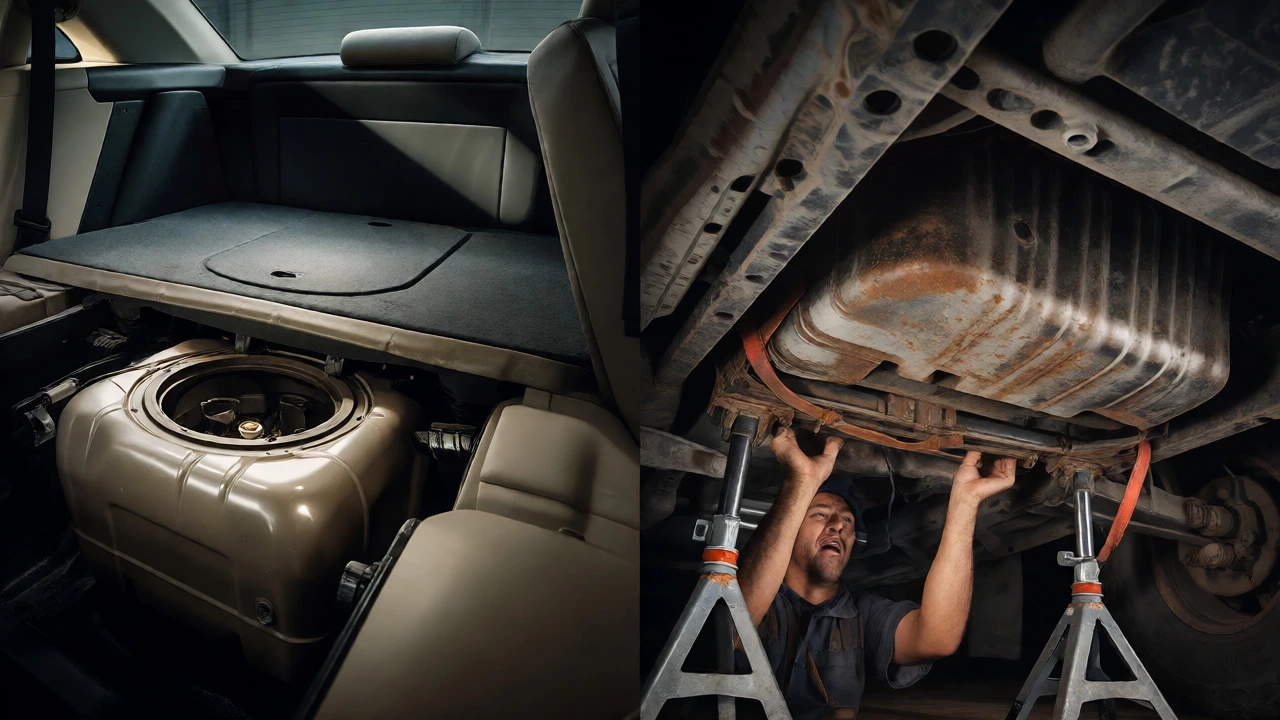
In-Tank Assemblies: Most cars made after the 1990s place the electric fuel pump inside the fuel tank. This design helps cool the pump (since it’s submerged in gas) and reduces noise. Access varies wildly here. In many sedans like the Toyota Camry or Honda Civic, there’s a small access hatch behind the rear seat cushion. You lift the seat, unscrew four bolts, and boom-you have direct access to the top of the tank. This is the "easy" scenario.
However, in many SUVs, trucks, and newer compact crossovers, the tank is welded or bolted to the underside of the frame with no interior access panel. To get to the pump, you have to lower the entire tank. That means draining fuel, disconnecting lines, supporting hundreds of pounds of metal and liquid, and lowering it carefully. This turns a simple part swap into a heavy-duty mechanical project.
External Inline Pumps: Older vehicles or specific high-performance applications might use an external pump mounted on the fuel line, usually near the firewall or along the frame rail. These are often easier to reach because you don’t need to touch the tank at all. You just unbolt the old unit from the bracket, swap the hoses, and reinstall. But beware: these pumps are prone to corrosion if exposed to road salt, making bolts seize up tight.
The Hidden Dangers: Why It’s Not Just About Bolts
If you’ve ever changed a brake pad, you know the feeling of removing parts and putting them back. A fuel pump job introduces variables that standard repairs don’t. Here is why mechanics charge more than you’d expect for what looks like a simple swap.
- Fuel Pressure: Even with the engine off, the fuel system holds pressure. If you pop a connector without relieving this pressure first, gasoline will spray everywhere. Gasoline is flammable and slippery. One spark from a dropped wrench could be catastrophic.
- Corrosion and Seized Fasteners: The fuel tank lives in a hostile environment. Mud, water, road salt, and heat cycle constantly. By year ten, the bolts holding the sending unit or the tank straps are often rusted solid. Breaking a bolt head off requires drilling, tapping, or cutting-skills beyond basic DIY.
- Plastic Fragility: Many modern fuel pump assemblies use plastic locking rings and float arms. These become brittle with age and exposure to ethanol-blended fuels. If you twist the lock ring too hard during reinstallation, it cracks. Suddenly, you need a whole new assembly, not just the pump motor.
- Tank Removal Risks: Lowering a full tank is dangerous. A 15-gallon tank weighs over 100 lbs when full. If your jack slips, the tank crashes down, potentially cracking the plastic tank body or damaging nearby exhaust components. Draining the tank first is safer but messy and time-consuming.
DIY Difficulty Scale: What to Expect
To help you gauge your own comfort level, let’s categorize common scenarios. Note that labor times vary by make and model, but these generalizations hold true across most mainstream brands.
| Vehicle Type | Access Method | Estimated Time (DIY) | Difficulty Rating |
|---|---|---|---|
| Sedan/Hatchback (e.g., Ford Focus) | Rear Seat Panel | 45-60 Minutes | Easy/Moderate |
| Coupe/Sports Car (e.g., BMW 3 Series) | Trunk Floor Panel | 1-2 Hours | Moderate |
| SUV/Crossover (e.g., Jeep Grand Cherokee) | Underbody/Tank Drop | 3-5 Hours | Hard |
| Pickup Truck (e.g., Chevy Silverado) | Bed Lift or Tank Drop | 2-4 Hours | Moderate/Hard |
Notice how the Ford Focus example is significantly quicker than the Jeep Grand Cherokee? That’s purely due to engineering choices. The Focus allows you to work from inside the cabin. The Jeep requires you to lie under the car, remove skid plates, drain fuel, and support the tank while unbolting straps. If you don’t have a friend to help hold the tank, you’re stuck waiting for a rental floor jack or struggling with ratchet straps.
Cost Analysis: Parts vs. Labor
When people ask if it’s a "big job," they often mean "will it break my wallet?" The part itself isn’t always expensive, but the labor adds up fast.
A quality aftermarket fuel pump module typically costs between $80 and $250. OEM (Original Equipment Manufacturer) parts from the dealer can run $300 to $600. Why the difference? Brand reliability and warranty. Cheap pumps fail within a year, forcing you to pay for labor again. Mechanics hate coming back for warranty work on cheap parts, so they often recommend mid-tier brands like Bosch or Denso.
Labor rates hover around $100-$150 per hour in the UK and US markets. If your car requires a tank drop (4 hours), you’re looking at $400-$600 in labor alone. Add the part, and you’re spending $500-$800 total. Doing it yourself saves that labor cost, but only if you succeed on the first try. If you strip a bolt or crack the tank, you’ll end up paying the mechanic anyway, plus the embarrassment of explaining why the car still won’t start.
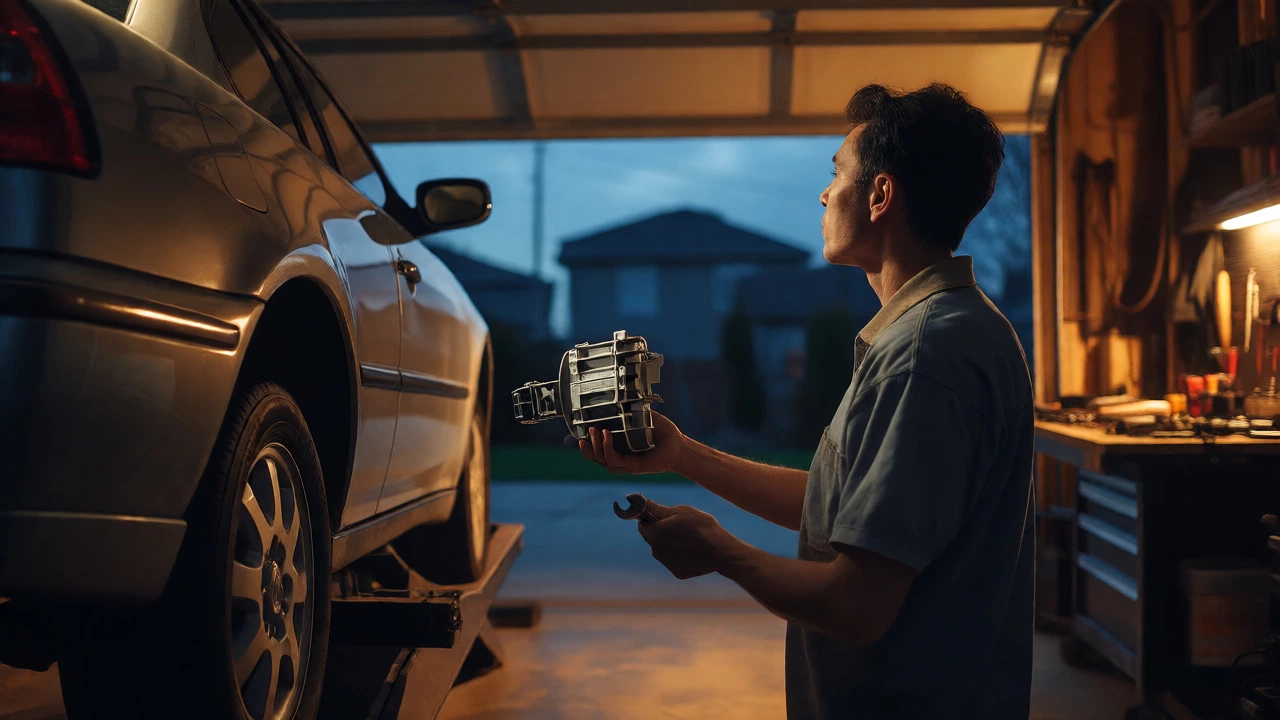
Step-by-Step: The "Easy" Access Scenario
Let’s walk through the best-case scenario: a sedan with a rear-seat access panel. This gives you a realistic idea of the workflow.
- Relieve Fuel Pressure: Locate the fuel pump fuse or relay. Start the engine and let it stall. Crank it once more to ensure zero pressure remains in the lines. Disconnect the negative battery terminal to prevent sparks.
- Access the Tank: Fold down the rear seats. Remove the carpet cover and unscrew the circular access plate. Be prepared for a strong smell of gasoline.
- Disconnect Electrical and Lines: Unplug the electrical connector. Use a specialized tool or flathead screwdriver to release the quick-connect fittings on the fuel lines. Wrap a rag around the fitting to catch drips.
- Remove the Lock Ring: Use a fuel pump lock ring tool (or a hammer and punch) to rotate the large plastic ring counterclockwise. It should come loose. Lift the pump assembly out gently. Watch the float arm!
- Swap and Reinstall: Transfer the sender unit (the float gauge) to the new pump if necessary. Install a new O-ring seal on the tank opening. Insert the new pump, align the tabs, and tighten the lock ring clockwise until snug. Do not overtighten; you’ll crack the plastic.
- Test Before Closing: Reconnect the battery and electrical. Turn the key to the "On" position (do not start). Listen for the hum of the priming pump. Check for leaks at the connections. Only then start the engine.
When to Call a Pro
You should definitely hire a professional if any of the following apply to your situation:
- No Access Panel: If you have to drop the tank, unless you have a hydraulic transmission jack and experience working under cars, skip it.
- Severe Rust: If you look under the car and see the tank straps are fused with rust, a pro has torches and impact guns that you likely don’t.
- Complex Wiring: Some luxury vehicles integrate the fuel pump control into complex CAN bus systems. Incorrect wiring can trigger check engine lights that require specialized scanners to clear.
- Time Constraints: If you need the car tomorrow, don’t gamble. A mechanic has done this 50 times; you’re doing it once. They will be faster.
Replacing a fuel pump is a classic "medium" job. It’s not as simple as changing oil, but it’s not as complex as rebuilding a transmission. The biggest barrier isn’t technical skill-it’s physical space and patience. If your car offers a trapdoor in the trunk or under the seat, you can absolutely do this yourself in an afternoon. If you’re staring at a rusted-underbelly SUV, save your sanity and call a shop.
How long does it take to replace a fuel pump?
For vehicles with an access panel under the rear seat or trunk, a DIYer can typically complete the job in 1 to 2 hours. Vehicles requiring the fuel tank to be lowered can take 3 to 6 hours depending on rust levels and whether the tank needs to be drained completely.
Can I drive with a bad fuel pump?
You might be able to drive short distances if the pump is failing intermittently, but it is risky. A complete failure leaves you stranded. Furthermore, running a weak pump can cause the engine to lean out, potentially overheating valves or causing catalytic converter damage due to misfires.
Do I need to replace the fuel filter with the pump?
In many modern cars, the fuel filter is integrated into the fuel pump assembly (often called a sock or strainer). When you buy a new pump module, it usually includes a new strainer. If your car has a separate inline filter, it is highly recommended to replace it simultaneously to protect the new pump from debris.
Why is my new fuel pump making noise?
A slight hum is normal. However, loud whining or grinding can indicate improper installation, such as the pump touching the bottom of the tank, a bent float arm, or air entering the system due to a loose hose clamp. Check all connections and ensure the pump is seated correctly in its rubber grommets.
Is it cheaper to fix or replace a fuel pump?
Most modern fuel pumps are sealed units. You cannot easily repair the internal motor or electronics. Therefore, replacement is almost always the required solution. Attempting to open and solder connections inside a sealed module is rarely worth the effort given the risk of future leaks.